CLICK HERE FOR FREE BLOGGER TEMPLATES, LINK BUTTONS AND MORE! »

Tuesday, September 27, 2011

Another Cake!


I made this cake last week for my grandson's 4th birthday. I used the Wilton sugar sheets again. I absolutely love the way these cut with my Cricut Cake. I used Duff's fondant to cover the cake. I used a product that I purchased called The Mat for rolling out and draping the fondant on the cake. It made rolling and draping a breeze. To see The Mat in action click here video. For more information on The Mat, click here shop.sweetwise.com. I used Batman the Brave and the Bold to cut out the bat signal and bats. The signal was cut at 7 inches. Using the real size button, the bats were cut at 1.5 inches and 1 inches. The circles were cut at .5, .75, and 1 inch using Plantin Schoolbook.

My State Fair Entries

I picked up my entries from the State Fair so I thought I would share.

We celebrated our 30th anniversary last year at Disney World so I decided we should have some pictures taken. We had them taken at the Grand Floridian Hotel.


I'm making layouts of all the autographs I collected on our trip so I decided to enter Mickey and Minnie. It is a very simple layout.


I also entered this chipboard book I made for my grandpa's 100th Birthday. I made it for a sign in book for his party. Later I added pictures from the party. Below are some of the inside pages.


Tuesday, September 13, 2011

State Fair

Very short post today.I decided to check out my enteries at the State Fair. I won a 1st, 2nd and 6th place. I will take pictures and post them as soon asI get them back next week.

Thursday, September 8, 2011

It's been awhile since...

I've posted on my blog. I have been getting things ready to enter into the State Fair. I was in such a hurry to get them done, I forgot to take pictures to post so I will have to do that after the fair.

I just finished making another book bag. This one is for my grandson DJ. He started pre school and is a Cars fan. This time I used inkjet printable heat set vinyl. I found it is different from regular heat set vinyl. You print and cut it and then remove the backing. The vinyl is a lot thinner. I also found out the hard way that in order to layer, ie. Speed I am Speed, the first layer needs to be cooled. If the layer is hot, the next one will automatically fuse to it and if it's not lined up, you will have to start all over. .


I used the Disney Cars cartridge. McQueen it cut at 6" and the saying 2". Since the last 2 Cricut Craft Room updates,you are no longer able to cut and print an image all at once.I found I had an older version on my old hard drive and it worked! All the colors used with the exception of the tongue are preloaded colors on the Imagine. The tongue color came from Best Friends. This vinyl cuts very nice. To iron on, I used the parchment paper that came with it and had my iron on the hottest setting. It is ironed for 2 minutes. I have never used this before so I'm not sure how it holds up to washing but will post when I do.

Tomorrow I'm off to our local Scrapbook Expo. I hope to get a few layouts done.


Thursday, August 4, 2011

Snow White Book Bag


This bag was done for my granddaughter's friend for her birthday.

Cut and print Snow White2 from Happily Ever After at 7 inches using the method found on http://cricutcraftroomblog.blogspot.com/2011/07/printing-and-cutting-disney-layers-on.html on ink jet iron on fabric. Thanks to Narelle for discovering this. No more layering! The RGB codes used here are:

Black 17 27 22  (Best Friends black)
Skin 255 221 191
Lips and Bow 221 72 90 (Best Friends red)
Sleeves 179 201 238
Sleeve bands 251 223 139 ( Best Friends lt. yellow)
Bodice and Eyes  Blue that is on the color chart when you bring up the color wheel.

Iron on bag. Cut the word Snow White at 2 inches using Ashlynns Alphabet (cursive) that has been welded together and filled with black. Iron on bag. Using a small paint brush, brush on Art Institute fabric adhesive on to sleeves. Sprinkle with AI glitter Nirvana ultra fine transparent. Pat down glitter. Let sit for 5 minutes. Gently tap off glitter tapping on the back of the back. Lay bag on a foil lined cookie sheet.Put in an oven that was preheated to 300 and turned off. Leave in for 30 minutes. Brush off any remaining glitter.

Add rhinstones using the irock. I used blue.


Sunday, July 31, 2011

Belle Book Bag

     I made this for my grandaughter. The bag came from Oriental Trading. The bag was prewashed in cold water and line dried.  I used the Disney's "Dreams Come True" cartridge. Using my Imagine machine and inkjet iron on fabric I printed and cut the layers. I also used the Cricut Craftroom. 
      I made sure I used a brand new blade. The settings I used were pressure 4, speed 3 and blade depth 4.Belle's name is cut at 2 inches and filled in with black. Belle is cut at 7 inches. I used the shadow feature for the bottom layer and filled it with black. These are the RGB codes I used:

Skin - 254 226 203 (Stampin Up Blush Blossom)
Hair and eyes - 121 71 32
Gloves and shouldere - 255 228 120
Bodice - 255 223 74
Lips 242 116 137
(above from The Scrapmaster )

      Iron on each piece as you layer it. Follow the directions from your manufacturer. I used June Tailor Quick Fuse which I found at Joann's in the quilting area.
     After All layers are ironed down, use a small paint brush to apply Art Institute Fabric Adhesive to the gloves and shoulders. Sprinkle on Art Institute Jonquil ultra fine transparent glitter. Make sure all areas are covered. Using fingers, gently smash down glitter. Let sit for 5 minutes and then gently shake off excess glitter. Let dry 3-4 hour. Heat set by baking in an oven that has been preheated to 300 and then turned off. Place bag on a foil lined cookie sheet and bake for 30 minutes.
     Apply heat set rhinestones. Wash inside out in cold water and line dry


Wednesday, July 27, 2011

My Craft Room

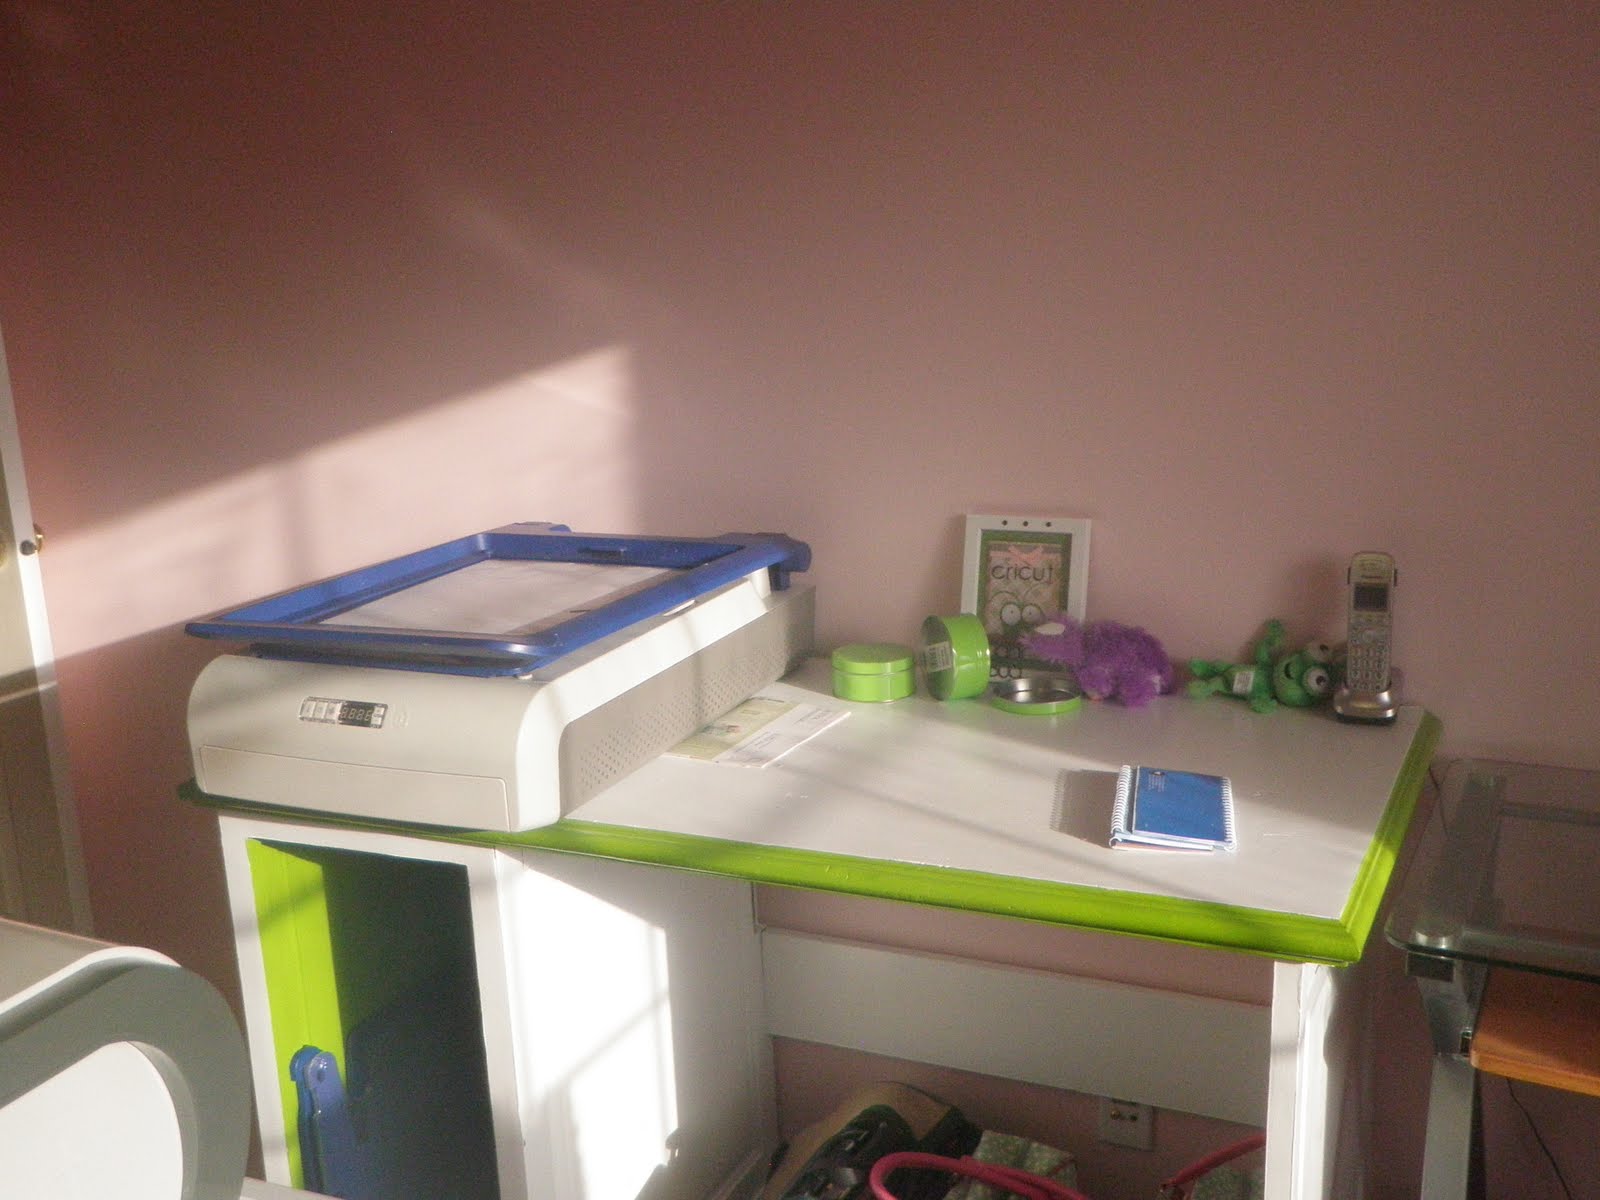
This is my craft room. It is still a work in progress but it's functional.


I used my Everyday Cricut cartridge to decorate the wall.

The desk was black. I painted it white with green trim.